Instructions for use of plastic vacuum dryer
Instructions for use of plastic vacuum dryer
1. Hold the soft nylon tube, slowly push it into the quick-change connector hole on the needle valve body, and insert it firmly to the end. After plugging it in,
Just pull gently to confirm that it cannot be pulled out.
2. Connect the soft nylon tube to the vacuum source.
3. Put in ceramic separators and samples as needed.
4. Put the O-ring seal on the outer cone surface of the base, cover the upper cover, and evacuate (press and hold the upper cover by hand when vacuuming, and let go when the vacuum level rises slightly)
5. Remove the tube installed on the quick-change connector:
(1.) Push the end face of the blue release sleeve flange on the quick-change coupling fully and evenly.
(2.) Pull out the tube while pressing in the blue release sleeve. If the release sleeve is not fully pressed, the tube cannot be pulled out.
(3.) If the pipe is repeatedly loaded and unloaded, the pipe head is seriously worn and scratched. When reusing, cut the part that has been engaged in the gate to be reused.
6. Take out the sample: manually unscrew the valve and release the vacuum.
Precautions:
1. Do not expose the vacuum dryer to the following chemicals and their vapors: strong bases, esters, aromatic or halogenated hydrocarbons, ketones. These chemicals may damage polycarbonate.
2. Cannot be used for autoclaving.
3. You can use hot soap or neutral detergent solution to clean, then rinse thoroughly with water, do not use organic solvents, strong alkaline cleaning agents or corrosive solvents.
4. Installation of special needle valve: the special needle valve is installed on the base of the vacuum dryer when it is produced and shipped. When the customer needs to install the special needle valve by himself, the metal hexagon on the valve body should be used and tightened with a suitable wrench. Suitable tightening torque is 12-14N.m
(120-140kfg.cm). The pipe joint on the needle valve body is provided with a sealant, which can be loaded and unloaded 2-3 times under normal circumstances. When there is no sealing effect, the sealing tape (raw tape) can be wrapped around the sealant before use. When using the sealing tape, 1.5-2 pitches should be left at the front end of the threaded portion to not wrap the sealing tape.
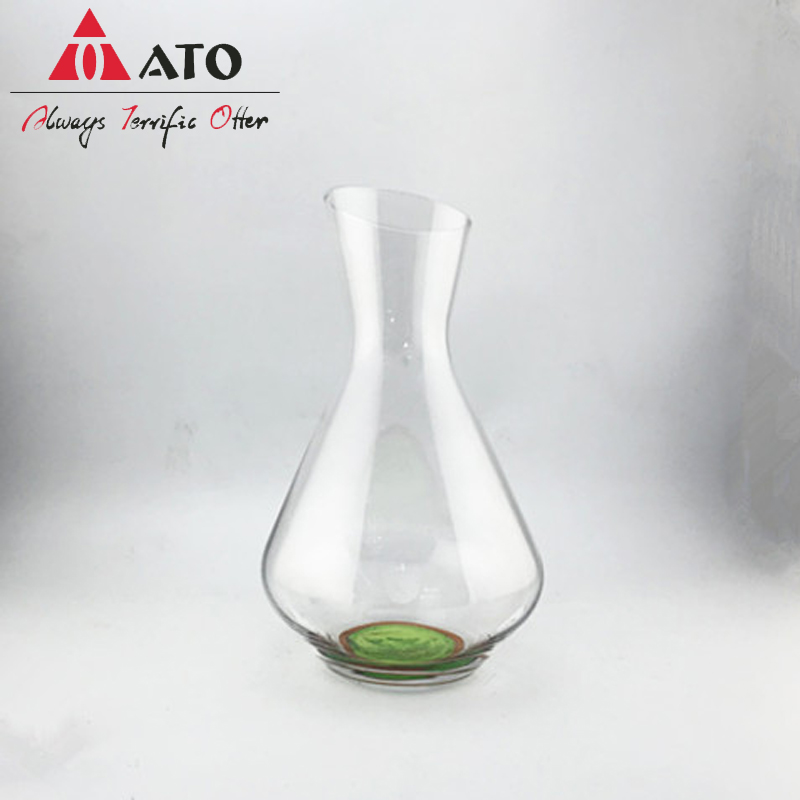
Hydroponics is a method of growing plants without soil, using a nutrient-rich water solution instead. Glassware vases can be used in hydroponics to hold the plants and the water solution. The transparent nature of glass allows for easy monitoring of the plant's roots and the nutrient levels in the water.
To set up a hydroponics system using a glassware vase, you will need the following:
1. Glassware vase: Choose a vase that is large enough to accommodate the plant's roots and has a wide opening for easy access.
2. Growing medium: Since hydroponics doesn't use soil, you will need a growing medium to support the plant's roots. Some common options include perlite, vermiculite, or clay pebbles. Fill the vase with the growing medium, leaving enough space for the roots to grow.
3. Nutrient solution: Prepare a nutrient-rich water solution according to the specific needs of the plant you are growing. Follow the instructions provided with the hydroponic nutrient solution or consult a hydroponics expert for guidance.

Hydroponics glassware vase
Xi'an ATO International Co., Ltd , https://www.ato2008.com